If you cannot get the demo content to import, you can import the individual elements manually. Continue reading below to learn how to manually import demo content.
Where To Find Demo Files
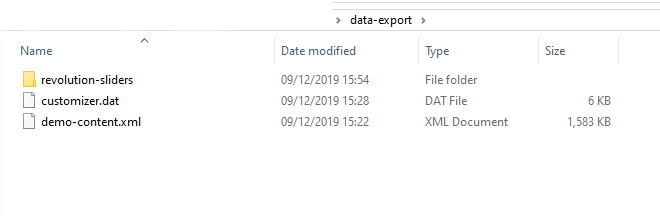
Go to the download package > data_export folder you will see demo version folders, each folder containing an XML file, slider files, customizer.dat.
How to Import XML Files
Step 1 – Download and install the WordPress Importer plugin.
Step 2 – Go to Tools > Import.
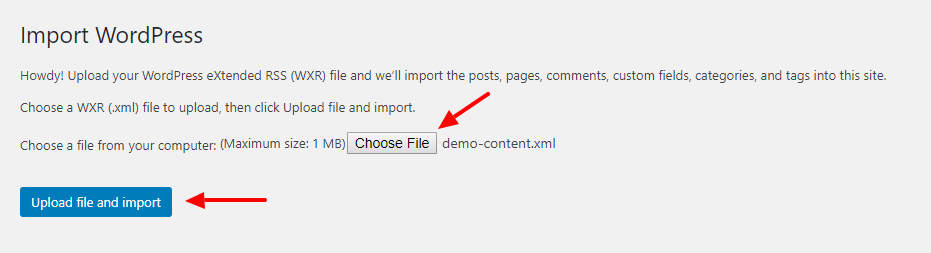
Step 3 – Click Choose File and select a demo-content.xml file from the homepage folder.
Step 4 – Click the Upload File and Import button.
Step 5 – Check the Download and Import File Attachments checkbox.
Step 6 – After WordPress is finished importing, click the Have Fun link to return to your dashboard.
How to Import Customizer
Step 1 – Go to Plugins > Add New
Step 2 – Search and install plugin Customizer Export/Import
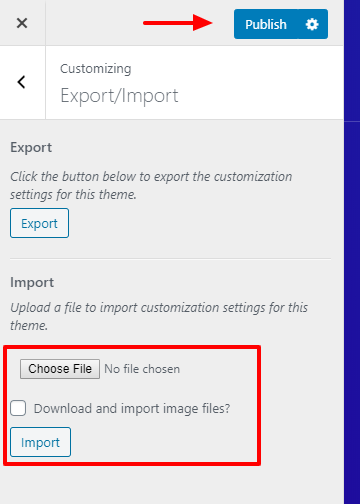
Step 3 – Go to Appearance > Customize > Export/Import.
Step 4 – Click Choose File and select data-export/customizer.dat file from the download package.
Step 5 – Click the Import button.
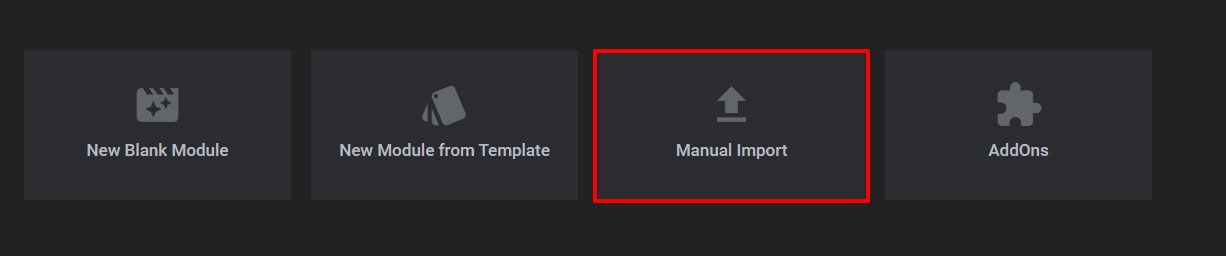
How to Import Revolution Sliders
Step 1 – Go to Revolution Sliders.
Step 2 – Click the Manual Import button.
Step 3 – Click Choose file and select a slider in data-export/revolution-slider folder from the download package.
Post-Import Steps
There are certain things a WordPress import cannot do for you during an import, so after uploading demo content. So after finishing the demo content, please see the steps below.
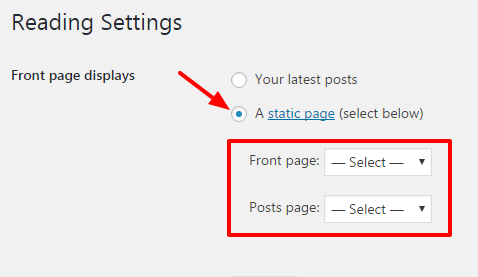
Home Page and Blog page
Step 1 – Go to Settings > Reading.
Step 2 – Under the Front page displays, choose A static page.
Step 3 – Select a homepage for Frontpage and Blog page for the Posts page.
Primary Menu
Read our where is the primary menu article to know where is the primary menu.
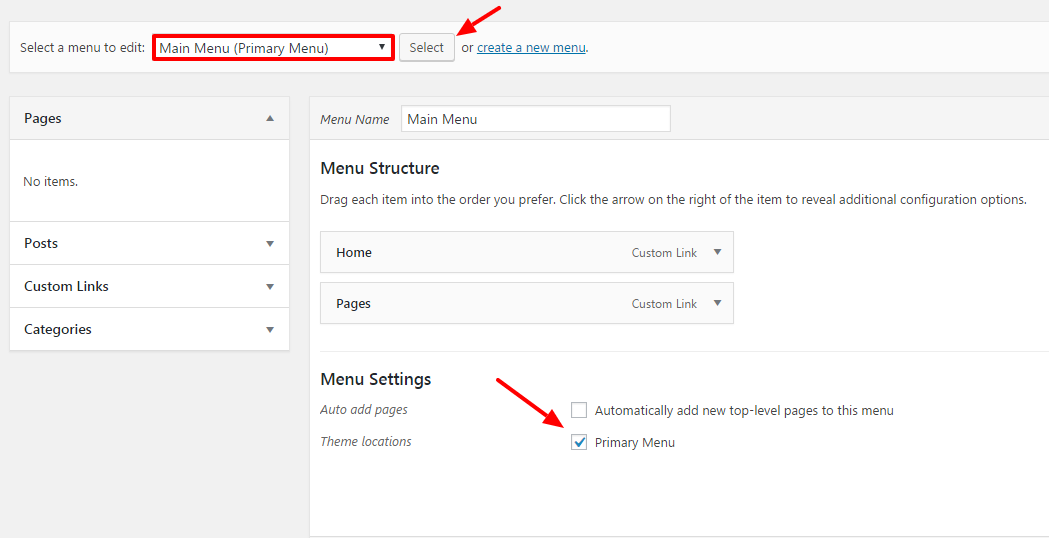
Step 1 – Go to Appearance > Menus.
Step 2 – Select Menu Main and click the Select button to edit it.
Step 3 – Scroll to the bottom of the page and check Primary Menu for Theme location.
Step 4 – Click Save Menu.